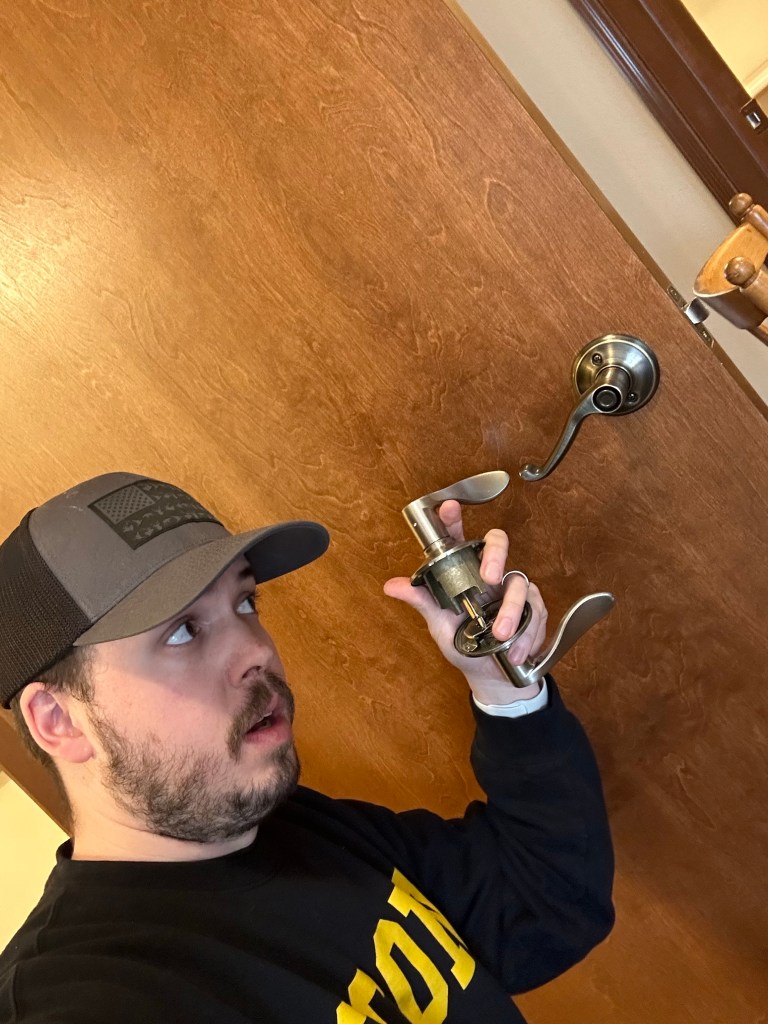
Interior door handles are in a constant state of use. Whether it’s kids slamming doors or just everyday wear and tear these simple pieces of equipment tend to break. Maybe it’s time to upgrade your old door handles with some new in-style hardware. Whatever the reason for replacing them is I’ll show you the quick and easy steps on how to do it yourself.
Things needed to install
- Screwdriver (Philip’s head)
- New door handle
- Power drill (Might need)
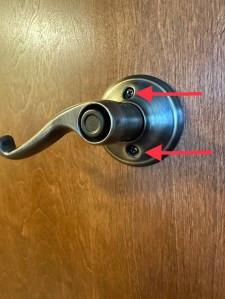
Step 1- Remove the old door handle
For this step, you will need your screwdriver. Take a look at your door handle and find the two mounting screws. They should both be located on the interior side of the door. Remove both screws being careful to catch your door handles so they don’t fall.
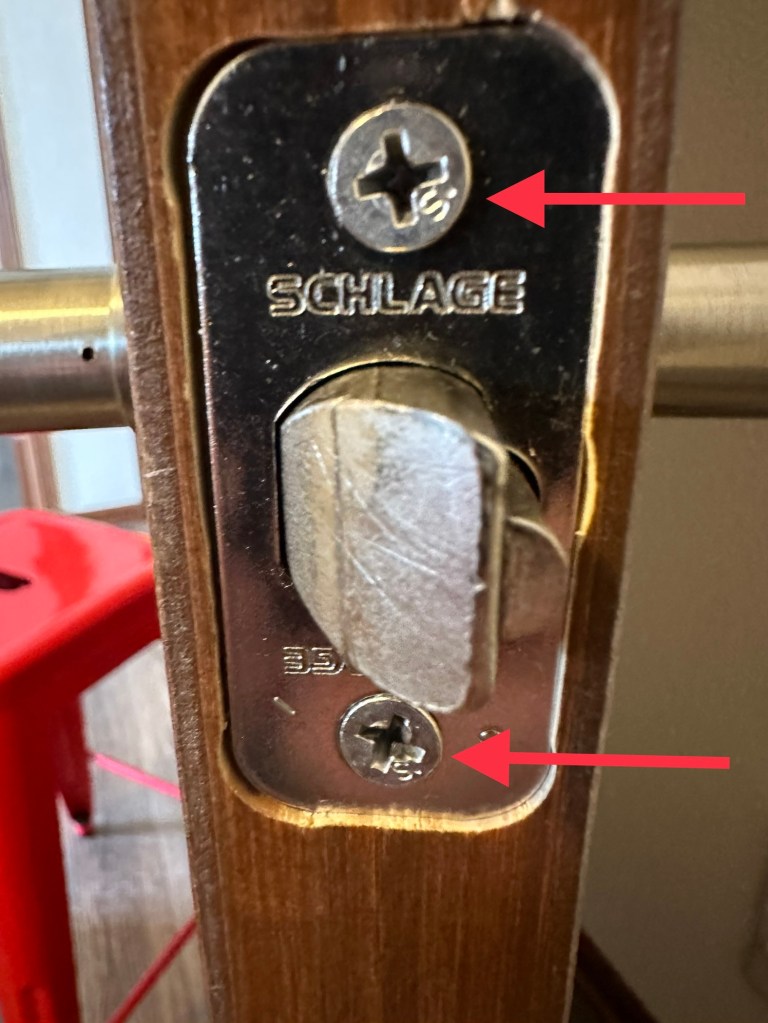
Step 2- Remove the old dead latch
Using your screwdriver you will want to remove the two small screws that hold in the old dead latch on the side of the door. Once those are removed you will be able to pull the dead latch out of the door and move on to your next step.
Step 3- Insert the new dead latch
Take your new dead latch and insert it into the original hole from the previous one. Make sure you have it facing the right way when putting it in. The angled side of the latch should be facing the door frame so that it will strike the plate on the wall pushing it into its closed position.
Using your screwdriver, install the new dead latch with the two small screws that came with the new door handle. Make sure these screws are tightened all the way flush with the new dead latch.
Step 4- Insert the new door handles
Take the new door handles out of the package and insert the one with either a key lock or a privacy pin lock first. Once that is pushed through the dead latch you will need to grab the other handle and nestle it in through the dead latch and outside handle.
Step 5- Screw in the mounting screws
Grab the new mounting screws and insert them into the two holes on the inside door handle. Make sure to just get them started so that the outside door handle doesn’t fall out.
Once they are both started you will be able to take your screwdriver and tighten them all the way until they are snug. I like to take turns tightening each one a little at a time so as to not jam up the door handles and to make sure they both get snug around the same time.
Step 6- Check your work
Once everything is put together it is important to check to make sure everything works. While standing outside of whatever room you are installing this interior handle on, open and shut the door a few times. If there are any issues with the installation it may just be a screw that isn’t quite flush and needs to be tightened more.
Step by step video below
Check out the video below for a visual step-by-step process on how this is done.
Please like and subscribe to my YouTube channel

Leave a comment